I don’t know how to put this politely but the command-line experience on Windows sucks*. If you are using the default terminal in Windows, whether with CMD, PowerShell or Bash, you may not realize just how much better it could be. In this tutorial, you will setup an alternative terminal that supports fun stuff: window resizing, tabs, intuitive copy/paste and pretty colors.
* Yes, I am aware that the terminal in Windows 10 has a lot of improvements. But I’m still not using it because a) I’m avoiding Windows 10 until I am forced to upgrade and b) the alternative terminals are still nicer, with more features.
Before we start, let’s get some definitions out of the way: the term shell refers to a command-line interpreter that executes text commands (such as CMD, PowerShell or Bash) and terminal is the graphical window that hosts a shell.
For years I have used ConsoleZ, and it is still something that I would recommend as I find it to be one of the easiest terminals to configure. However, today I want to demonstrate how to setup ConEmu. It supports all the same features as ConsoleZ and while it may be a bit more complex to setup, it is also much more powerful and documented to boot.
- Install ConEmu
- If you have Chocolatey, run
choco install conemu. - Otherwise download the installer and run it, accepting all defaults.
- If you have Chocolatey, run
- Run ConEmu by selecting “ConEmu” from the Start Menu.
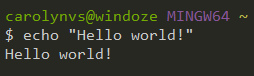
Congratulations, you now have a civilized terminal installed and ready to use!
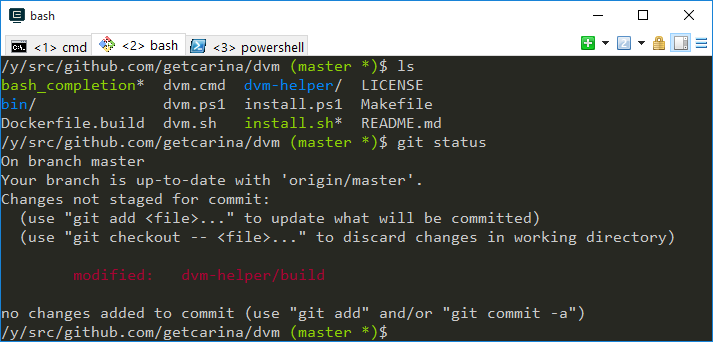
You could just stop right here and call it a day. I wouldn’t blame you. Take it for
a spin and you’ll see that you can resize the window, select text with your mouse to
copy it, and CTRL+V will paste. Huzzah!
However, a little bit of configuration is worth the effort. Below are some tweaks that I find useful:
Initial Configuration
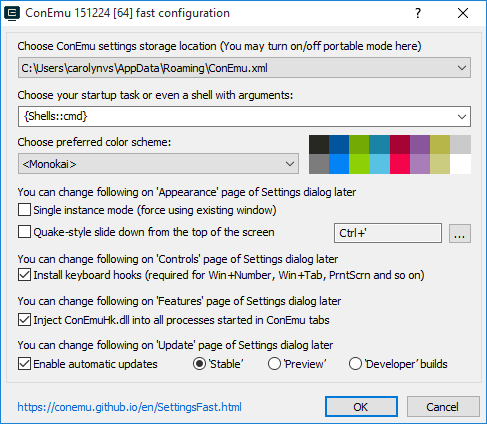
When you first start ConEmu, an initial configuration prompt is displayed. It is safe to accept the defaults, but here are a few suggested changes:
- Select a default shell, e.g. CMD, Bash or PowerShell.
- Choose a color scheme, my favorite is Monokai.
- Opt-in to automatic updates for stable releases.
Replace Default Terminal
This is ConEmu’s killer feature. It is so frustrating to setup a terminal just the way you like it, then be sent back to the dark ages when another process pops up a terminal.
- Open ConEmu.
- Go to
Settings > Integration > Default term. - Check “Force ConEmu as default terminal” and “Register on OS Startup”.
Voilà! Now when Visual Studio pops open a terminal, you are rewarded with ConEmu, instead of the stinky old Windows command prompt.
Tweaking Paste
The default keybindings for paste are interesting but not what I expected out of the box.
CTRL+V will only paste the first line in your clipboard. SHIFT+INS will paste
the entire contents of your clipboard (including newlines). It also prompts you
if pasting new lines.
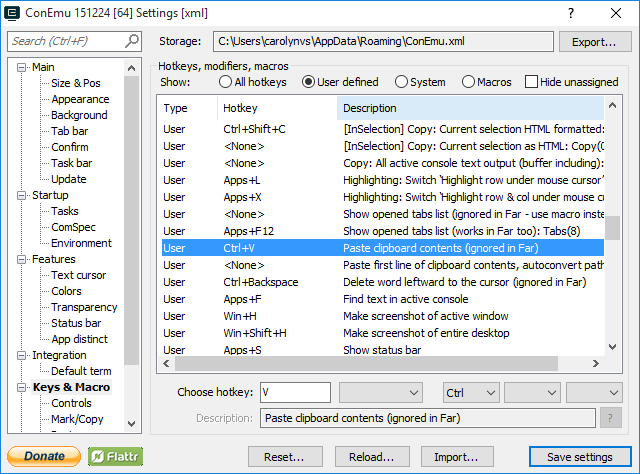
I prefer that CTRL+V pastes everything and doesn’t give me any guff about it.
See the screenshot below for where to find the hotkeys.
- Map
CTRL+Vto paste everything.Settings > Keys and Macro > User CTRL+V - Unmap paste first line.
Settings > Keys and Macro > User SHIFT+INS - Disable the newline warning.
Settings > Keys and Macro > Paste > Confirm <ENTER> keypress
Other Shells
By default ConEmu starts up with the CMD shell. Once it is open, you could type
powersehll, python or bash.exe --login to use another shell.
However there is an easier way: Tasks. Tasks are quite powerful. Not only
can they start up new tabs with a different shell, but they can be used to run
saved commands in the current session.
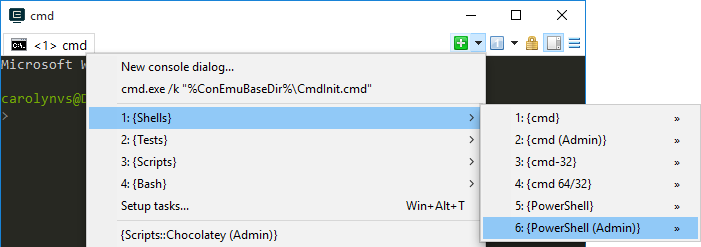
ConEmu comes with some predefined tasks, like starting an Administrator PowerShell session.
It can even detect your own setup and suggest some additional tasks. Since I have have lolnix, it automatically added a task to start up Bash for me.
To detect and add additional tasks, go to Settings > Startup > Tasks and click the “Add default tasks…” button.
The tutorial for adding a new task walks you through adding a task to start the Visual Studio Command Prompt, which I find very useful.
Making things pretty
This is purely aesthetics. Here is what you need to change if you want to match my screenshots:
- Use the monokai scheme.
Settings > Features > Colors > Scheme - Use the consolas font, size 16 pt.
Settings > Main - Hide the search bar.
Settings > Appearance > Show search field in tab bar - Hide the status bar.
Settings > Features > Status bar > Show the status bar
Next Steps
Congratulations, you are now more productive with the command line than 99% of your Windows brethren. But don’t stop now, there’s more fun stuff you can do now that you have a proper terminal:
- Install a Linux-like Environment on Your Windows Machine in Minutes
- Save Keystrokes by Customizing your Bash Configuration coming soon!